

Louisville winters rarely stay cold for long. One night drops into the teens, and two days later it’s 50 degrees and sunny. That back-and-forth may feel like a break, but it’s hard on your plumbing. Each freeze puts stress on your pipes, and each thaw can expose damage you didn’t know was there. The best time to winterize pipes in Louisville is October, before the first hard freeze arrives.
The good news is that most of the work is simple, affordable, and doable in an afternoon. A little prep now can spare you a burst pipe, a soggy basement, and a stressful repair in the middle of January.
Why Louisville’s Freeze-Thaw Cycle Is So Hard on Pipes
Water expands when it freezes
Most things shrink when they get cold. Water does the opposite. When it turns to ice, it expands by about 9%. Inside a pipe, that expansion has nowhere to go.
Here’s the part that usually gets missed. The ice itself often doesn’t split the pipe. Instead, the ice blockage traps water between it and a closed faucet. As the ice grows, pressure builds in that trapped section until the pipe cracks or bursts. That’s why a pipe can break in a spot that never actually froze.
Why thaws make it worse
In a place that stays frozen all winter, a cracked pipe may stay plugged with ice. In Louisville, temperatures climb back above freezing quickly. When the ice melts, water rushes through the crack, often while you’re at work or asleep. Repeated freezes can also weaken joints and fittings over time, so a pipe that survived one cold snap may fail during the next.
The pipes most at risk
Pipes that get little or no heat from your home are the most likely to freeze. Check these areas first:
- Crawl spaces. Cold air moves freely under the house, especially through open vents.
- Garages. Unheated garages often hold water lines for laundry, utility sinks, or water heaters.
- Attics. Pipes running through attics sit close to the roof, where temperatures drop fast.
- Exterior walls. Pipes inside outside walls, like those under a kitchen sink on an exterior wall, can freeze when insulation is thin.
- Outdoor faucets and lines. Spigots, hose bibs, and irrigation lines face the cold directly.
Walk through your home with this list and note every exposed pipe you can see. That list becomes your winterizing plan.
How to Winterize Outdoor Faucets in 3 Steps
Outdoor faucets are usually the first to freeze, and a split spigot line can leak inside your wall for weeks before you notice. Taking care of them takes just a few minutes.
Step 1: Disconnect your garden hoses
First, unhook every hose from your outdoor faucets. A connected hose traps water in the spigot and the pipe behind it. When that water freezes, it can crack the line inside your wall. Drain the hoses and store them in a garage or shed so they last longer, too.
Step 2: Close the indoor shutoff valve
Next, find the shutoff valve that feeds each outdoor faucet. It’s usually in the basement or crawl space, on the pipe that runs toward the wall where the spigot sits. Turn the handle clockwise until it stops. If it’s a lever-style valve, turn it so the handle sits crosswise to the pipe.
Some homes have frost-free spigots, which have a longer valve that sits inside the warm part of the house. They offer better protection, but you should still disconnect the hose. Otherwise, trapped water can still cause a break.
Step 3: Drain the spigot
Finally, go back outside and open the outdoor faucet all the way. Let any leftover water run out until it stops. Some indoor shutoff valves have a small bleeder cap. If yours does, loosen it to release trapped water, then tighten it again. Leave the outdoor faucet open through the winter so any remaining water has room to expand.
Don’t forget irrigation systems. Sprinkler lines need to be drained or blown out before the first freeze, and many homeowners have this done professionally.
Affordable DIY Ways to Protect Exposed Pipes
You don’t need expensive equipment to keep your pipes safe. These simple fixes cost little and make a real difference.
Add foam pipe sleeves
Foam pipe insulation is one of the easiest upgrades you can make. These pre-slit tubes are sold at any hardware store and snap right over your pipes. Measure the pipe diameter before you shop, then cover exposed lines in crawl spaces, garages, attics, and basements. Seal the seams with duct tape or the sleeve’s built-in adhesive strip so cold air can’t slip in.
Seal drafts near your pipes
Even insulated pipes can freeze if a cold draft blows directly on them. Look for gaps where pipes, cables, or vents pass through exterior walls and foundations. Fill small gaps with caulk and larger openings with spray foam. Close foundation vents in your crawl space for the winter if your home has them, and keep garage doors shut during cold weather.
Let faucets drip on the coldest nights
When the forecast drops into the low 20s or below, let a faucet on an exterior wall drip slowly with both hot and cold water. Moving water is much harder to freeze, and an open faucet relieves pressure if ice does form. A slow, steady drip is enough.
On those same nights, open the cabinet doors under kitchen and bathroom sinks. This lets warm air from your home reach the pipes inside.
Keep your home warm, even when you’re away
Keep your thermostat at a steady temperature day and night during a cold snap. If you’re traveling for the holidays, leave the heat set to at least 55°F. The savings from turning it lower aren’t worth the risk of a burst pipe while no one is home.
Find and Test Your Main Water Shutoff Valve Now
If a pipe ever bursts, the fastest way to limit the damage is to shut off water to your entire home. Every minute counts. That’s why you should find your main shutoff now, not while water is pouring through your ceiling.
Where to look
In most Louisville homes, the main shutoff valve is in one of these spots:
- In the basement, on the wall facing the street
- In the crawl space, near where the water line enters the foundation
- Near the water heater or in a utility room
- In the garage, especially in homes built on a slab
Follow the pipe that comes in from the street. The valve is usually within a few feet of where it enters your home.
How to test it
Once you find it, give it a quick test:
- Turn the valve off. Turn a round handle clockwise, or turn a lever a quarter turn so it sits crosswise to the pipe.
- Check a faucet. Open a faucet on the lowest floor. The water should slow to a stop within a minute or so.
- Turn it back on. Open the valve slowly to avoid a sudden pressure surge, then check for drips around the valve.
If the valve is stuck, leaks, or won’t fully stop the water, don’t force it. Old valves can break under pressure. Have a licensed plumber repair or replace it before winter.
Make sure everyone knows
Show every adult in your home where the valve is and how to use it. A bright tag or label on the valve helps in a stressful moment.
Common Winterizing Mistakes to Avoid
Even careful homeowners can miss a step. Watch out for these:
- Leaving a hose connected “just for one more use.” One surprise cold night is all it takes.
- Insulating only some of a pipe. Gaps in coverage leave weak spots where freezing can start.
- Forgetting the garage. Laundry lines and water heaters in unheated garages are easy to overlook.
- Turning the heat way down during a trip. Empty, cold homes are where many burst pipes happen.
- Thawing a frozen pipe with an open flame. A torch or lighter can damage the pipe and start a fire. Use a hair dryer or space heater with care, or call a plumber.
What This Looks Like in Real Life
Picture two neighbors on the same Louisville street. In October, one spends about an hour disconnecting hoses, shutting off the outdoor faucet valve, and adding foam sleeves to the pipes in the crawl space. The other plans to “get to it later.”
In January, a hard freeze settles in overnight, then temperatures jump back into the 40s. The first homeowner wakes up to a normal morning. The second hears dripping in the basement. A spigot line that froze behind the wall has split, and water has been leaking for hours.
The difference isn’t luck. It’s a little prep at the right time.
Get Ready for Winter With Help From ASI Plumbing
Winterizing your pipes doesn’t take much time, but it pays off all season long. Start with your outdoor faucets this week. Then add foam sleeves to exposed pipes, seal nearby drafts, and find and test your main water shutoff. These simple steps can protect your home from the costly damage Louisville’s freeze-thaw cycle can cause.
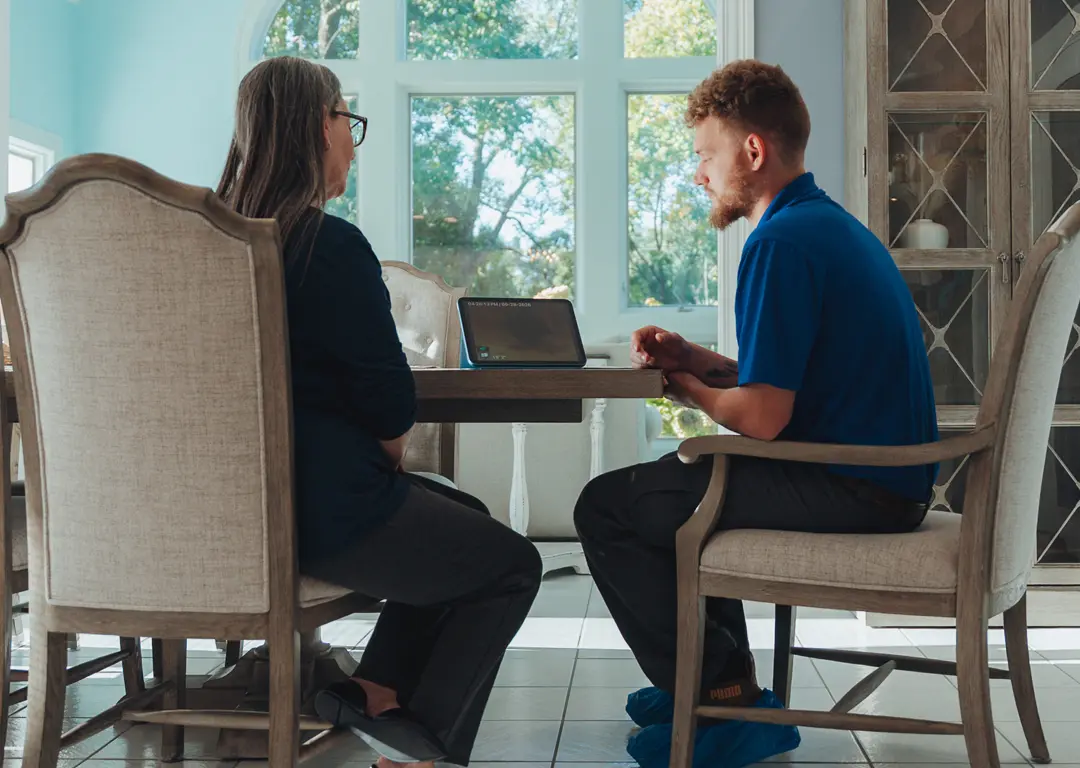
If you’d rather leave fall prep to a professional, ASI Plumbing is here to help. Our licensed technicians can inspect your plumbing, point out pipes at risk, and handle any repairs your home needs. We’ll explain what we find in plain language and give you clear, upfront pricing before any work begins, with no hidden fees.
If a pipe does freeze or burst this winter, we’re available 24/7 for immediate help. Call, text, or book online today to schedule your seasonal plumbing check.